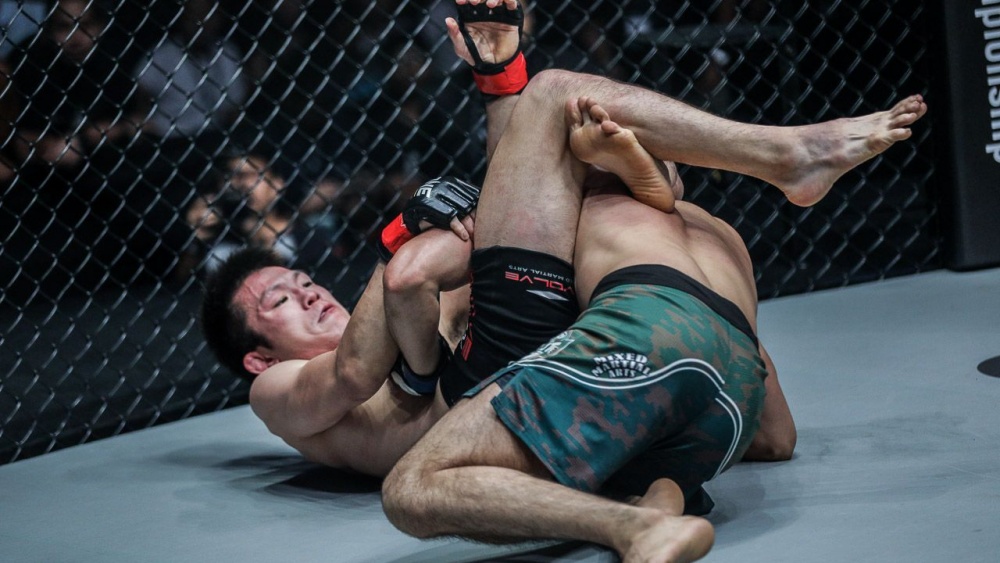
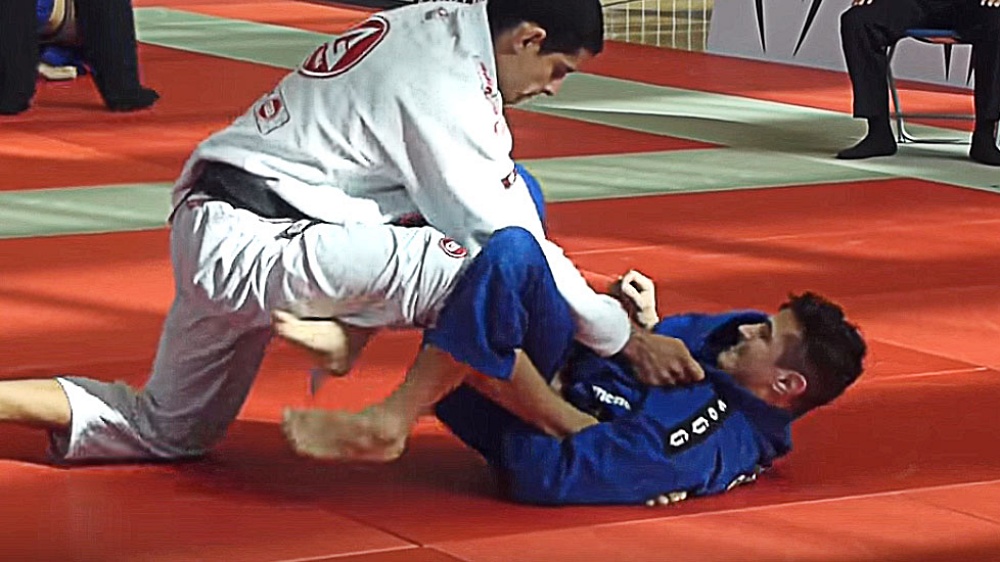
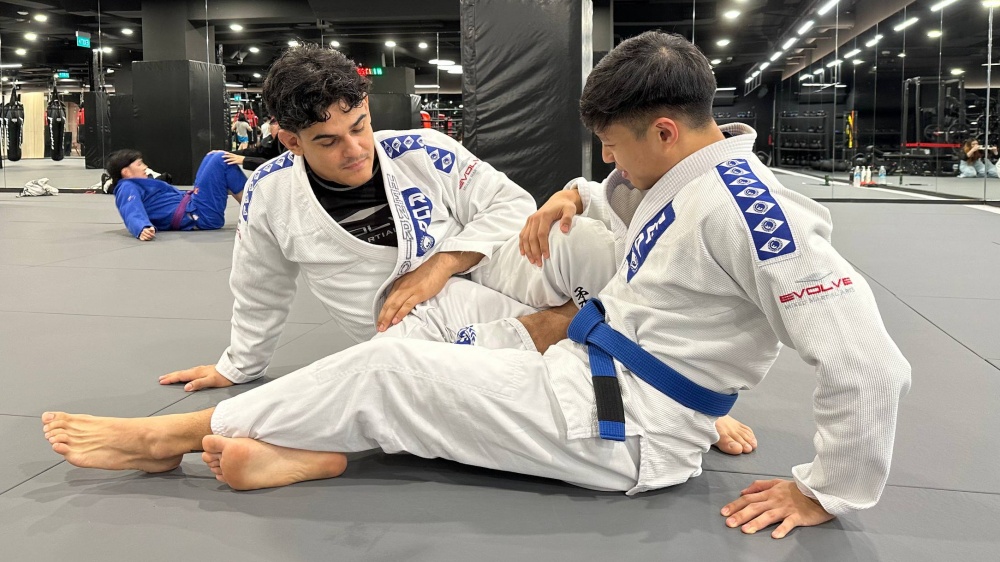
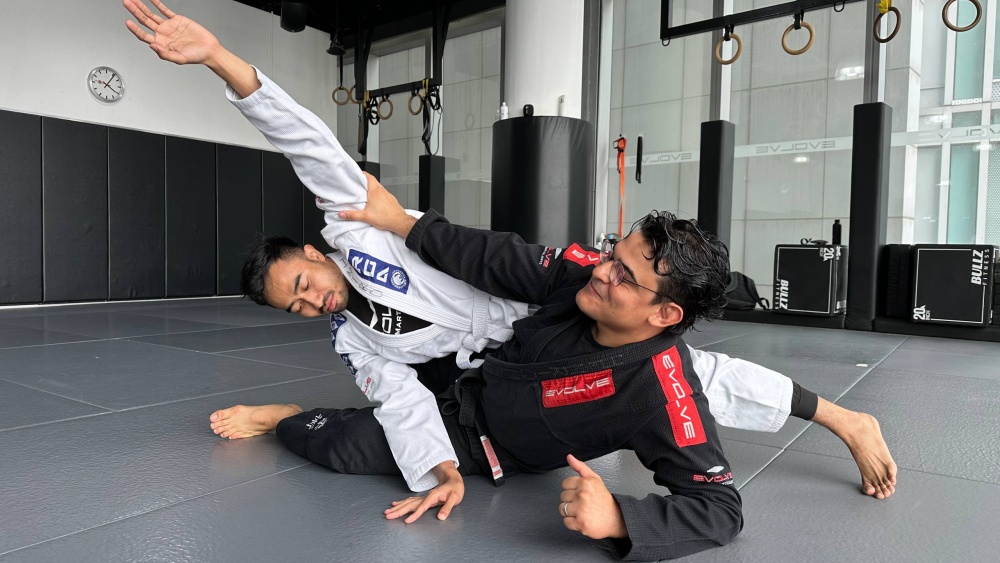
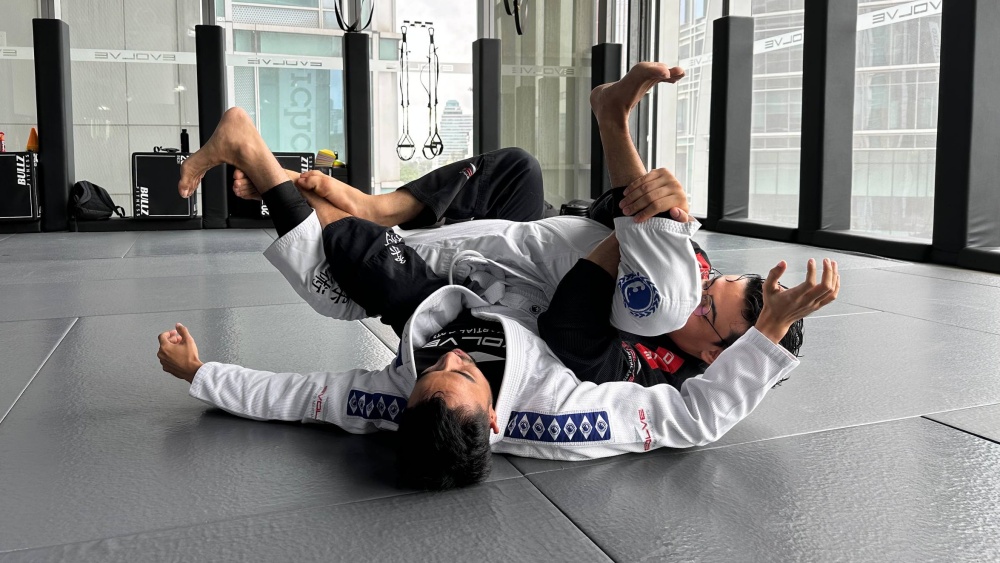
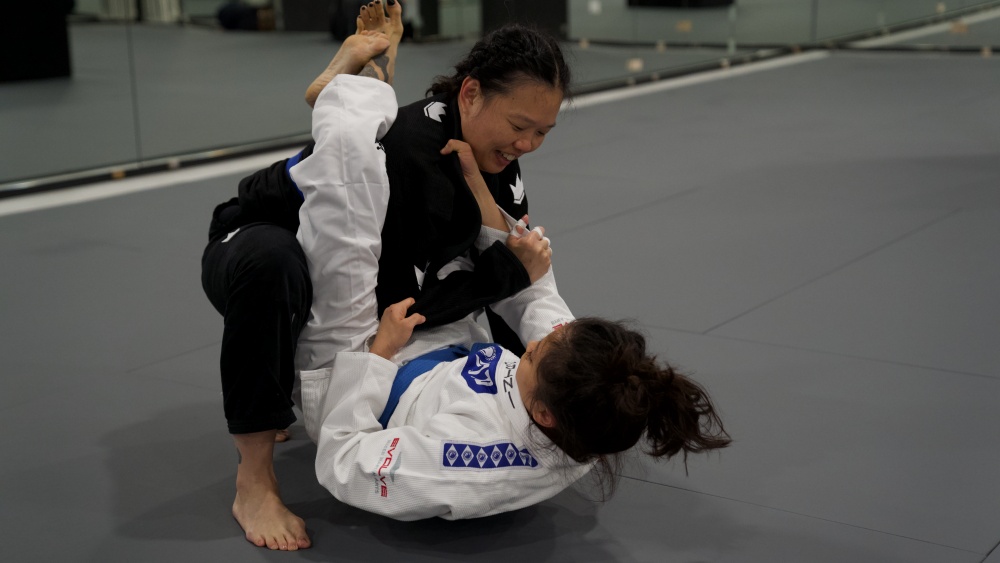
The triangle choke is one of BJJ’s signature submissions. One of the reasons why the triangle choke is so effective is its versatility. The triangle choke has multiple variations, and there are many ways to achieve it. Although the triangle choke can be applied from virtually any position, it is most commonly applied from the closed guard.
- In MMA or in a self-defense situation, triangle choke attempts force the person on top to stop throwing strikes or trying to open the closed guard. This presents the bottom person with sweep, escape, and submission opportunities.
- Even when the triangle is only partially locked, it can act as a powerful and safe restraint position, leaving an opponent’s face and head open to strike attempts while eliminating his or her chances to attack.
- Finally, the triangle choke is a powerful submission that can force an opponent to tap out or lose consciousness.
How To Perform A Triangle Choke
https://www.youtube.com/watch?v=oVvEQeasAxQ
The triangle choke is a powerful technique for both competition and self-defense. Below are some concepts to help you develop a great triangle choke.
1) Establish Wrist Control:
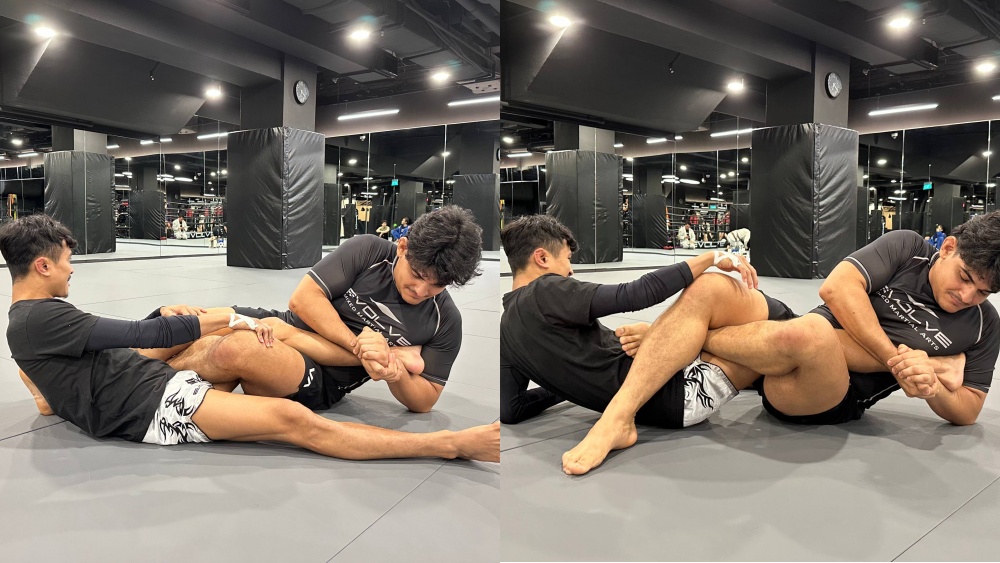
The first step in most triangle choke variations is to gain control of your opponent’s wrists. From closed guard, for example, controlling your opponent’s wrists has several purposes. First, it prevents your opponent from securing grips, which is usually his or her first step in opening and passing your guard. Second, in MMA or a self-defense situation, wrist control prevents your opponent from throwing strikes. If your opponent’s arms are secured, there isn’t much he or she can do. Finally, controlling your opponent’s wrists allows you to correctly position his or her arms to apply the triangle choke.
2) Place One Arm In And One Arm Out:
To execute the triangle choke it is necessary to isolate one of your opponent’s arms. The reason for this is that the triangle choke requires you to apply pressure to your opponent’s neck using your legs and one of his or her shoulders. Therefore, once you achieve wrist control, press one of your opponent’s arms into his or her torso as you pull the other arm forward. This will place your opponent in the one arm in/one arm out position, which is the ideal position for attacking the triangle choke.
3) Thrust Your Hips Upward And Lock The Triangle
Once you’ve placed your opponent in the one arm in/one arm out position, you must open your closed guard momentarily and explode your hips upward. This explosive movement has two purposes: a) it catches your opponent off guard, and b) it limits the amount of space between your hips and your opponent’s neck. At the top of this movement, place one leg over the shoulder of the arm that is pressed against your opponent’s torso and the other leg under your opponent’s opposite shoulder. However, keep in mind that although certain triangle submissions, such as the mounted triangle, don’t require this explosive, upward movement, the other principles discussed in this article generally remain the same.
4) Control Your Opponent’s Head
Nearly all closed guard submissions require you to break your opponent’s posture. Therefore, when attempting a triangle choke from the closed guard, it is imperative that you control your opponent’s posture. You can achieve this by both pulling forward with the legs and using both of your hands to pull down on your opponent’s head. Remember, if you fail to maintain control, and your opponent regains an upright posture, his or her chances of escaping your triangle choke attempt are greatly increased.
5) Achieve A 90-degree Angle
As with most submissions, you must achieve a proper angle to successfully complete a triangle choke. When performing a triangle choke from closed guard, you should try to achieve an angle perpendicular to your opponent. One way to achieve this angle is to push off of your opponent’s opposite hip with your foot in order to shift your body into the correct position. However, since you must unlock your legs to perform this movement, it is necessary to grasp your shin behind your opponent’s neck and pull down in order to maintain control of your opponent’s posture. After you complete this movement, one side of your opponent’s face should be directly in your line of sight. However, when performing a mounted triangle, achieving an angle is usually unnecessary due to the pressure created by your body weight.
6) Complete The Submission
After completing the above steps, you can finally complete the submission. Several actions are necessary to successfully complete a triangle choke. First, if you temporarily opened your legs to achieve a proper angle, you must relock them. In order to relock your legs, place the top side of the ankle of the leg that is behind your opponent’s neck under the knee of the opposite leg. After you have relocked your legs, you should make sure that your opponent’s trapped arm is positioned across his or her body. While you can finish the triangle choke without placing your opponent’s arm in this position, allowing your opponent to keep the trapped arm by his side gives him or her escape opportunities and makes the submission more difficult to finish. Therefore, it’s generally a good idea to position your opponent’s arm across his or her torso. If your opponent resists by squeezing his or her elbow against the side of his or her body, a slight hip bridge is generally all that is required to dislodge and expose your opponent’s arm. With your opponent’s arm in position and your legs locked, you should then squeeze your legs together and pull down on your opponent’s head. This will create an immense amount of pressure on your opponent’s neck, and it will almost certainly force him or her to tap out.
Practice Makes Perfect
If you incorporate these concepts into your training, your triangle choke is certain to improve by leaps and bounds! Whether you’re an experienced grappler or a brand-new white belt, there is always room for improvement!
If you enjoyed this article, you may also like:
