Summary
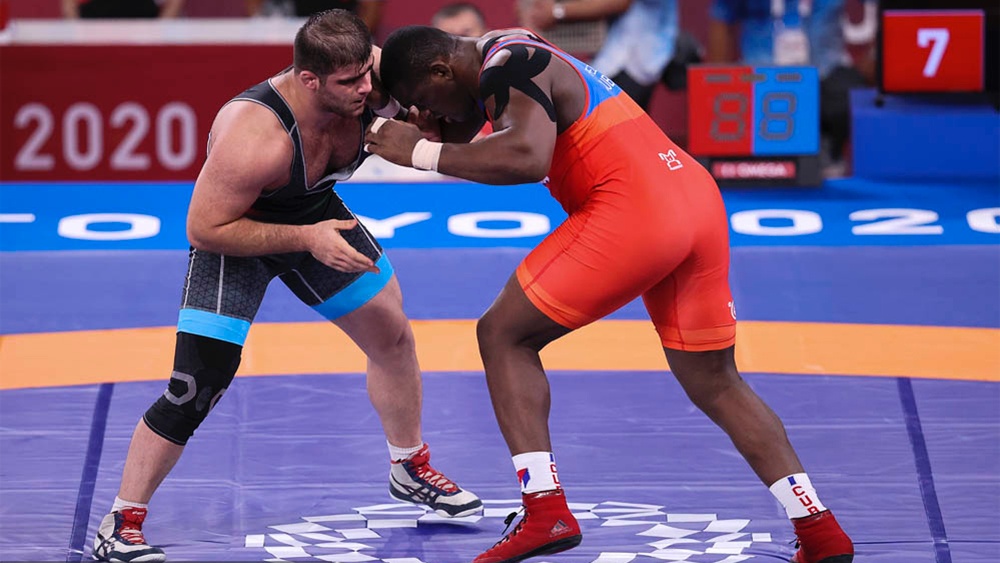
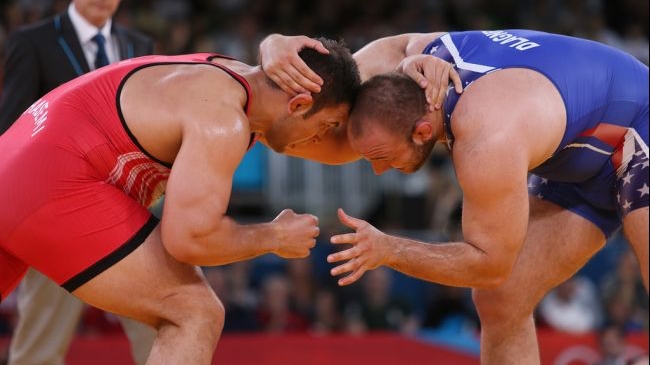
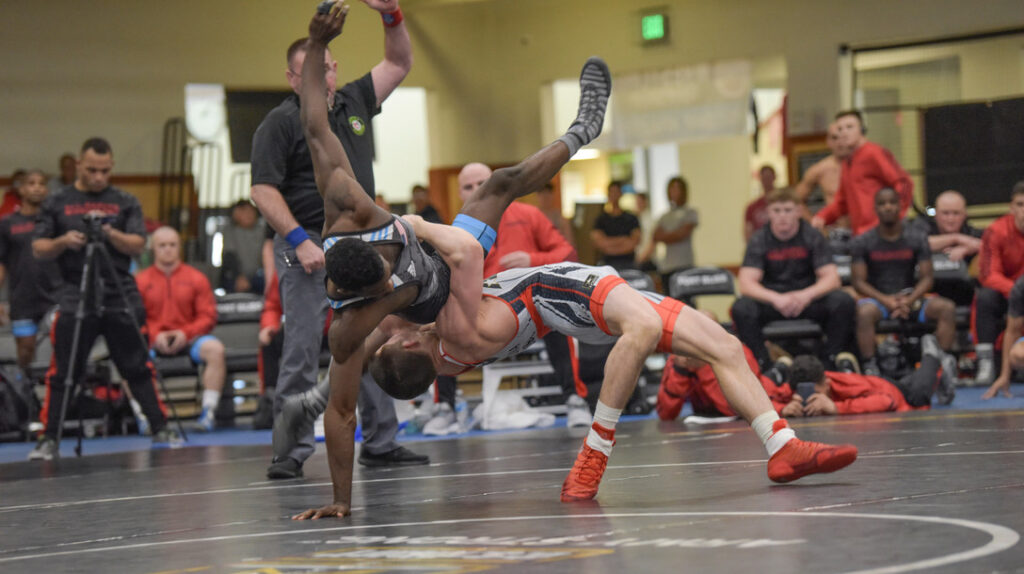
Wrestling is one of the most popular martial arts worldwide, and it’s been around as far back as 3000 BC. It’s a grappling-based martial art that focuses on putting your opponent on the ground, controlling their body, and pinning them.
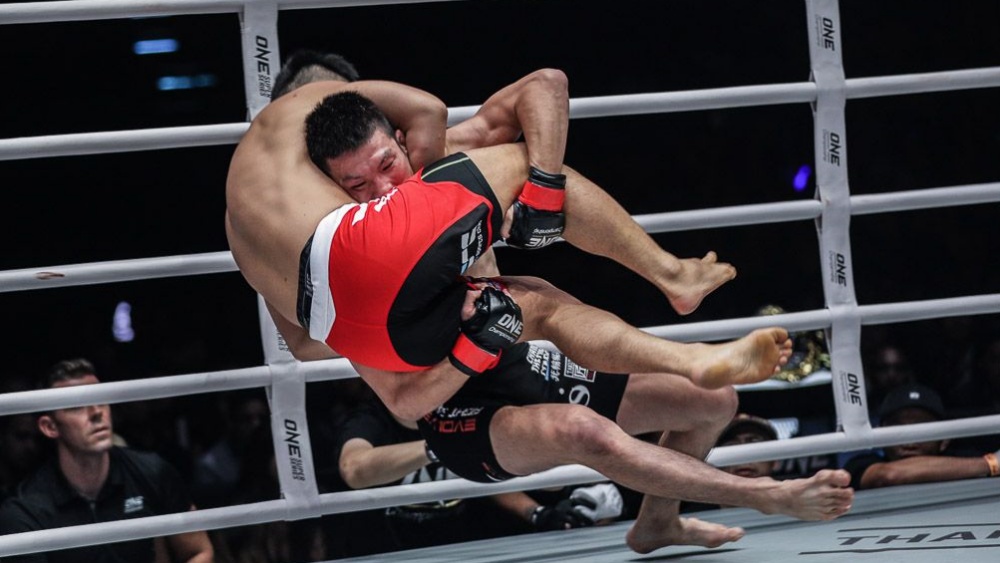
Wrestling is also an effective martial art for self-defense, and many view it as one of the best bases for mixed martial arts, the most permissive combat sport in the world, which allows many of the techniques you might have to deal with in self-defense situations.
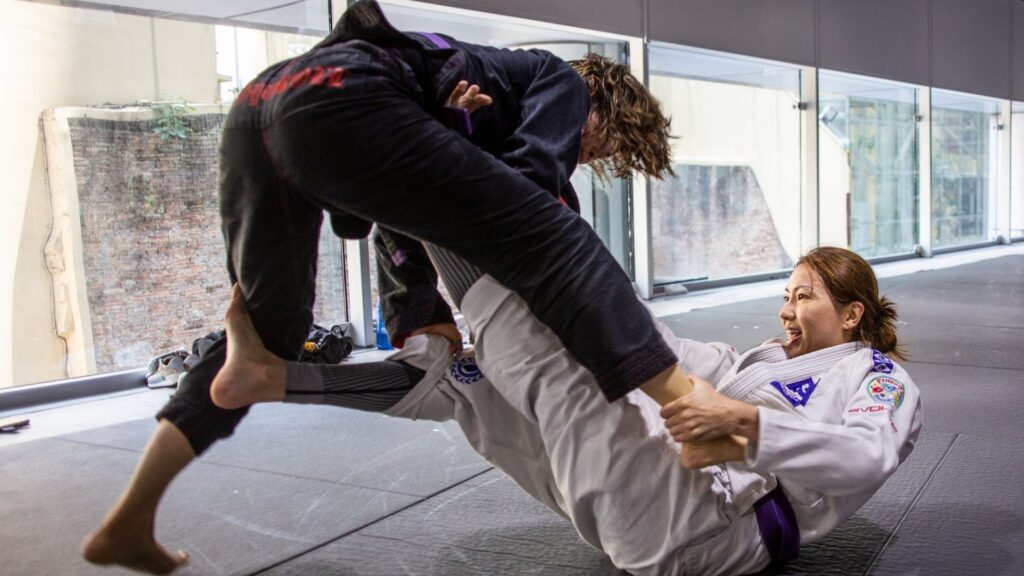
There are countless techniques used in wrestling, with some being more effective than others. This article will examine some of the most effective wrestling moves and techniques you should master. Many of these techniques carry over to other grappling-based martial arts like Brazilian Jiu-Jitsu, Sambo, and Judo.
Ten Wrestling Moves You Should Master
Ready to improve your wrestling skills? Let’s dive right into our list of techniques you should master:
1) The Penetration Step
The penetration step is the foundation for many takedowns used in wrestling, like the single and double leg takedown. The technique is performed to put you in a position to grab onto your opponent and take them to the canvas.
Any competent wrestling school gets its students to drill this technique regularly unless the rules of the specific wrestling style forbid takedowns that target the leg, as is the case with Greco-Roman wrestling.
Practice the penetration step often until it becomes part of your muscle memory so you can execute the technique smoothly and quickly. The technique starts in your stance with your lead leg slightly in front of your rear foot and your torso a little bit bent at your hips.
Here’s how to perform the penetration step:
- Take a step forward with your lead foot and place your knee between your opponent’s kegs. Lower your center of gravity while doing this to keep you balanced and make your shot more difficult to block.
- Bring your rear leg forward while your front knee is still in place. Bring your front leg back up and go back to your wrestling stance.
- Drill these movements repeatedly multiple times a week, and you’ll be shooting like a high-level wrestler in no time.
The single-leg takedown is one of the most commonly used techniques in wrestling, and that’s because it’s highly effective. There are several variations of the single-leg takedown, but they all involve targeting your opponent’s frontmost leg and dragging them to the ground. There’s also the high crotch – commonly known as the hi-C single-leg technique that involves targeting your opponent’s frontmost leg and using the hold to pick them off the ground and throw them to the floor.
The high single-leg takedown is the easiest type of single-leg attack to learn since you don’t need to perform a penetration step before shooting in on your opponent’s leg
Here’s how to perform a conventional high single-leg takedown:
- Step towards your opponent’s lead leg and place your forehead close to their chest as you close the distance.
- Grab the back of your opponent’s knee with your arms and lock them together. Keep your head outside your opponent’s torso and your chest pressed against your opponent’s thigh.
- Keep a tight hold on your opponent to prevent them from sprawling out of the position. Your inside knee should be on the floor, while your outside knee almost forms a 90-degree angle where your thigh and lower leg meet.
- Suck your opponent’s body into you to force them to lose their balance, then go for one of the many finishes you can do from this position, like transitioning to a double leg or picking up your opponent and dumping them.
Here’s how to complete a conventional single-leg takedown
- Take a penetration step to close the distance on your opponent, then shoot it and grab their frontmost leg with both arms
- Pull your opponent towards you as you push on their hips with your shoulder to unbalance them
- Run the gauntlet, circling anti-clockwise from the leg you have under your control while pushing down on your opponent’s hips with your shoulder
Figure out which single-leg attacks work best for you and incorporate them into your wrestling game. These techniques are highly effective in wrestling settings and other grappling arts like BJJ.
Double-leg takedowns are another popular technique used in wrestling. It’s a more interesting technique than the single leg, as it involves rapidly changing levels and exploding forward into your opponent. There are many ways to set up double-leg takedowns, like head snaps, hand ties, and misdirection.
These techniques are more effective when you catch your opponent with both legs close to each other, allowing you to wrap and lock your arms around them.
Shooting in is the building block for many wrestling takedowns, including double-leg techniques. Drill it frequently when you train to make your takedowns more effective. The faster and smoother your penetration step is, the more likely you’ll be able to complete takedowns when you shoot for them.
Here’s how to perform a double-leg takedown:
- Move towards your opponent so that you can touch their shoulder with your arms. Shoot by pushing off your rear foot and putting your front knee between your opponent’s legs.
- Wrap your arms around your opponent’s legs and keep them right behind their knees.
- Bring your rear foot forward and place it on the outside of your opponent’s leg.
- Take a forward step with your rear foot and get back on both feet with your arms still wrapped around your opponent’s legs. Try to form a “T” with you and your opponent’s body as you complete a takedown.
4) Sprawl
Sprawling is one of the fundamental defensive techniques used in wrestling, and it’s effective at all levels. Takedowns like the single leg and double leg involve wrapping your legs around your opponent’s legs to complete, but sprawling moves your legs out of your opponent’s legs and forces them to carry your weight. Your hand, head, and hips are your first line of defense against takedowns and holds, but you can always sprawl when all that fails.
Here’s how to perform a proper sprawl:
- When an opponent grabs one of your legs, drop your hip heavy on that side into your opponent while simultaneously throwing your legs back, so you end up on your toes. That’s an important little detail since being on your toes puts more weight on your opponent.
- Push down on the back of your opponent’s head with the hand closest to it and grab their triceps with your other hand, right above their elbow.
- Once you’ve successfully sprawled out of the position, you have a few techniques you can go for from there, like a front headlock or ankle sweep.
5) Snap-Down
The snap-down is a simple technique that puts you in the top turtle position. The best time to go for it is when your opponent is hunched over as they try to defend against incoming attacks. At that point, there’s nothing to stop their forward posture from crashing.
It’s a popular technique with freestyle wrestlers. Grapplers from other grappling styles, like Brazilian Jiu-Jitsu, are equally fond of it.
Here are the mechanics of the snap-down:
- Clinch up your opponent with a single tie. Some of the ways you can set up the technique include pushing and pulling on your opponent to get them to overcommit with their forward posture or by faking a shot, so your opponent pulls their legs back.
- Pull on the back of your opponent’s head while moving your legs back to end up in turtle position.
Besides being a simple way to end up in the top turtle position, snap-downs also open up your takedowns since both techniques require your opponent to do opposing things to defend against them. Your opponent needs to move their legs away from you to defend against takedowns, which opens them up to the snap-down. Conversely, your opponent must pull their torso backward to defend against the snap down, leaving them vulnerable to takedown attempts.
6) Whizzer
The whizzer is another effective defensive move that all wrestlers should master. When you’re not in a position to sprawl out of a takedown attempt, the whizzer is your next line of defense. The technique involves securing a deep overhook on your opponent’s nearest hand as they try to complete a takedown.
Securing a whizzer puts lots of pressure on your opponent’s shoulder, and that’s often enough to discourage them from completing takedowns. You can also use the whizzer to drive your opponent to the ground in a half-nelson by wrapping your free hand around their neck, or you can execute a hip toss.
7) Switch
The switch is one of the fundamental techniques used to reverse disadvantageous positions in wrestling. A completed switch puts you in a dominant position or gets you back on your feet. Unlike escapes, which only earn you a point in a wrestling match, reversals like the switch get you two points.
Here’s how to perform the technique:
- Break your opponent’s grip on your hand by moving it inside toward your free hand.
- Turn to your opposite hip for your hips to be facing away from your opponent, and grab onto their leg.
- Rotate your hips and drive into your opponent while holding on to their leg.
8) Sit-Out
The sit-out is another fundamental defensive technique you can use to escape from bottom positions. At times, you can also use the technique to drag your opponent to the bottom.
Here’s what the mechanics look like:
- Sit back into your opponent and use both hands to seal off. Push your shoulders into your opponent and raise your hips off the ground.
- Perform a hip heist and pay attention to how your opponent reacts. If your opponent puts their head over your shoulder, you can use a technique called the head gizoni to pull them to the ground. You simply scoot towards your opponent’s farthest hip from their head and grab their head. You then duck under, step away from their head, wrap your hands around their waist, and pull them over you. You can perform a technique called the arm gizoni if your opponent moves their head over your arm instead.
- If neither opportunity presents itself, establish hand control on one side and post with your other hand. Slide your knee behind your backside on the side you post with, and use back pressure to get back on your feet.
9) Front-Quarter Nelson
The front-quarter nelson is a handy wrestling technique that carries over into other grappling arts. It’s an effective way to transition to a dominant position after stuffing an opponent’s takedown attempt with a sprawl.
To perform a front-quarter nelson:
- Place one of your hands on the back of your opponent’s head while threading your other arm behind their closest arm.
- Push your opponent’s head down towards the mat while elevating their nearest arm. You can often use this pressure to turn your opponent around and put their back on the mat. Other options you have after securing a front quarter nelson include spinning around behind your opponent to secure back position.
10) Chicken Wing (Armbar)
The chicken wing is one of the most uncomfortable things you can do to your opponent from the top position. It’s also one of the most reliable holds for wearing down opponents and pinning them. Also known as the armbar in wrestling, the chicken wing gives you multiple options once you’ve secured the hold.
Here’s what the technique looks like:
- Secure a tight waist ride and chop your opponent’s arm while blocking the same side with your knee. Pull them to their side and gather their arm by hooking it with the hand you chopped with. Pull on your opponent’s elbow and drive the chicken wing inward.
- Put your opponent’s arm on your hip and move your hips to their side. Keep your hips facing the mat and use your free arm to block your opponent’s far arm and push their shoulders to their ear.
FAQs About Wrestling
Q: Who Should Learn Wrestling?
A: Anyone! Athletes, self-defense students, and people wanting to improve fitness or grappling for MMA. It builds balance, body control, and effective close-range fighting skills.
Q: Is Wrestling Good For Self-Defense?
A: Yes. Wrestling teaches control, balance, and takedowns, skills that transfer directly to many real-world self-defense scenarios.
Q: How Does Wrestling Fit With Other Grappling Arts (BJJ, Judo, Sambo)?
A: Many techniques overlap. Wrestling’s takedown and control skills provide an excellent base for BJJ (ground fighting) and complement throws used in Judo or Sambo.
You may also like:
