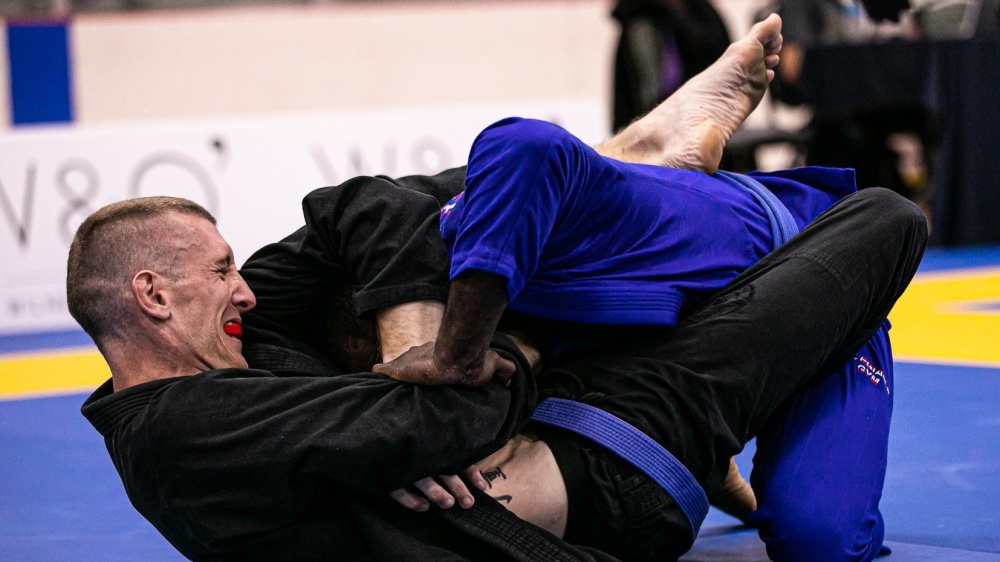
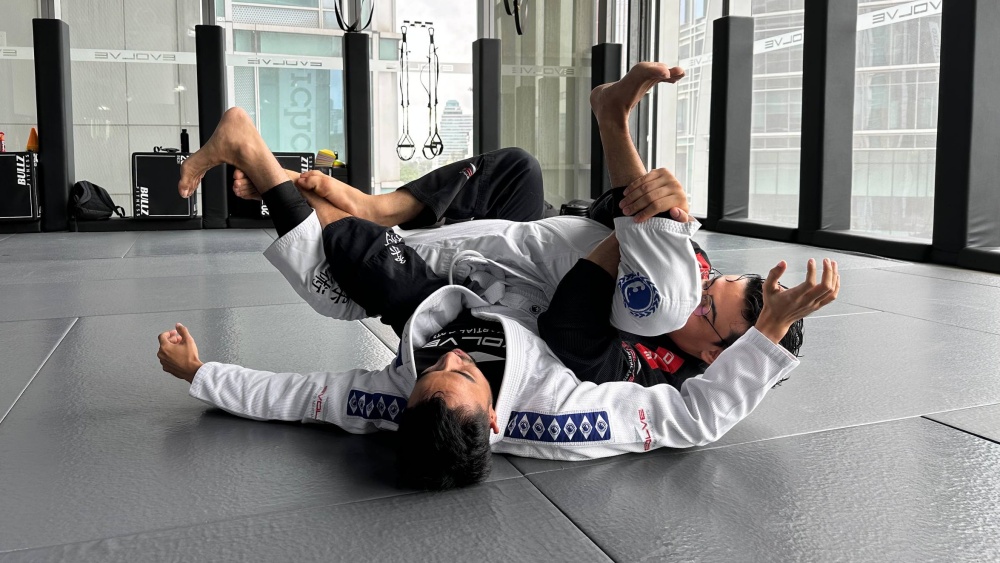
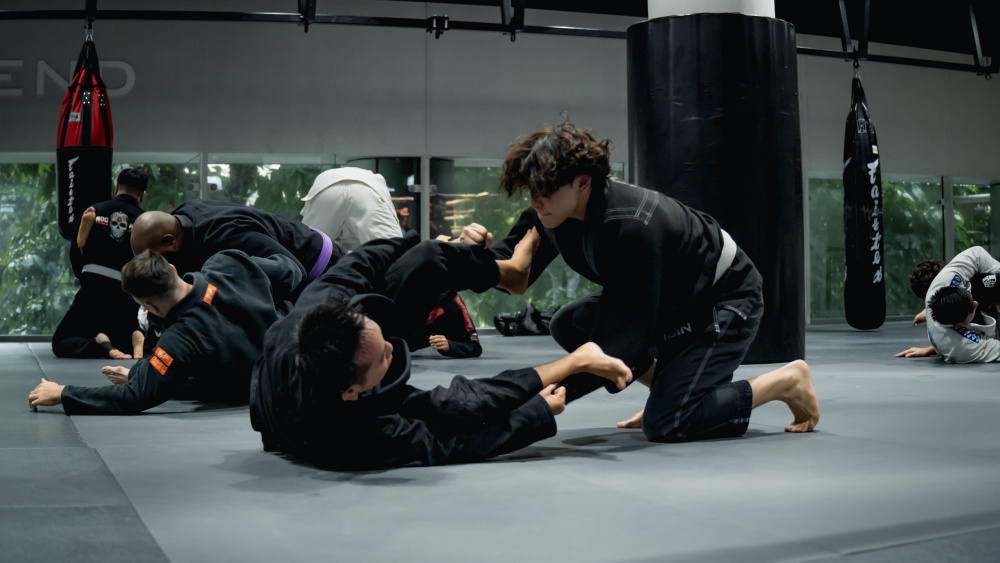
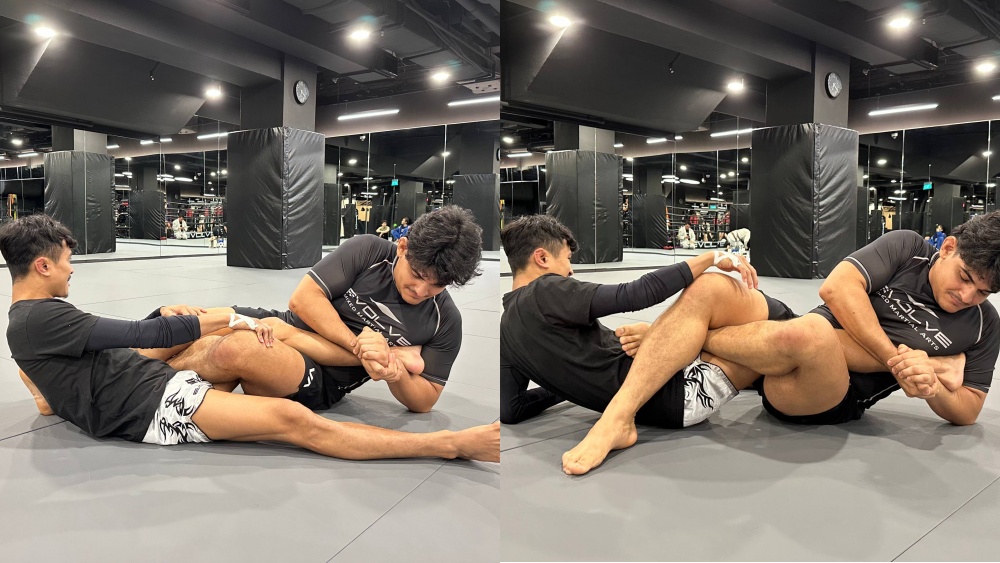
A key difference that separates the two types of Jiu-Jitsu – gi and no-gi – is the availability of grips. Some techniques work perfectly with the gi, while others work better in no-gi.
While this may be the case, you can make minor adjustments to specific techniques so that they can work regardless of style. Submissions like the bow and arrow can be applied in gi and no-gi, but understand that the no-gi variant may not be as effective. Utilizing the gi makes choking easier and, at the same time, makes the game a lot more technical. This article will explore a sneaky choke variant known as the loop choke.
What Is The Loop Choke?
Chokes are an important part of Jiu-Jitsu. As mentioned above, using the gi collar makes choking easier. Using chokes make your game efficient as it can submit opponents of all shapes and sizes.
That being said, chokes are more accessible with the gi. You can use the opponent’s (or sometimes even your own) gi to cut off blood flow to the neck. Think of the gi as an extension of your body. You should be able to use it to control, restrict and submit opponents if appropriately used.
The loop choke is an underrated yet one of the most dangerous chokes in all of BJJ. It is a submission that is usually applied in transition and is typically seen as a technique to counter takedowns. The loop choke is a highly versatile technique and can be used in different positions, including side control, half guard, guard passes, or when defending against a takedown.
It is a submission performed by grabbing the opponent’s collar and pulling it across their chin as you loop your hand to the opposite side and around their neck. This motion blocks the blood flow to the brain, thus forcing them to tap.
1) The Basic Loop Choke
The mechanics of the loop choke is intuitive enough, but it can be awkward to execute for beginners. It is critical that you understand the logic behind the steps so that you can apply the submission without issues. With enough drilling, you’ll be surprised at how you can see various entries from different positions. Watch the video demonstration by Nick Albin as he explains the finer details of the loop choke.
The basic loop choke is usually applied from the seated open guard position. If you are playing guard, it is good to start with a cross-collar grip. The idea is to go underneath the opponent’s neck, cup, and snap their head down as you shoot your opposite hand behind their neck until it reaches your choking arm’s wrist. When applying the cross collar grip, it is best to use a loose grip so that you can pull your arm all the way around the opponent’s head.
The importance of applying the loose cross collar grip is that it ensures your arm can go across the chin and up to block the side of the opponent’s neck as your other hand goes behind the head to create a frame that will push the head down.
It is critical to flex your wrist as it goes across the neck. One mistake when applying the loop choke is that grapplers apply the pressure on the windpipe instead of the carotid arteries on the side.
2) Loop Choke From The Front Headlock Position
Using the loop choke to defend against takedowns is one of the most common ways to apply the submission. If you decide to add the loop choke as part of your arsenal, you might want to apply the submission as a defense from takedowns instead of sprawling.
Though not advisable, using it as a bait comes with a cost, and in competition, the opponent may be rewarded points for a takedown. The loop choke is a viable option once you successfully land in the front headlock position.
As seen from the video demonstration above, you can apply the loop choke after sprawling from a takedown. After the sprawl, use your left hand to open the opponent’s collar as your right hand reaches for the cross collar grip.
A good tip here is to put four fingers inside the gi. Put your left hand under the opponent’s arm until it reaches behind their neck. Roll on the left side while you stick your head on their lat.
As you land, perform a hip escape to your left to create space and turn your body at an angle. Pull the opponent’s collar and straighten your arm to tighten and finish the choke.
3) Loop Choke From Fireman’s Carry
The loop choke is available against opponents looking to pass your guard. This is the best time to counter with a fireman’s carry to the loop choke. The video below is an example of how brutal the loop choke can be.
Opponents looking to pressure pass are at times open for the cross collar grip, especially when they are just starting to build up the pass. Once you secure the cross collar grip, quickly wrap your hand across their chin and behind their head to ensure that you are blocking the carotid arteries.
Swim and pop your head inside instead of putting your other hand behind the opponent’s head to finish the choke. Use your other hand to reach towards the opponent’s leg, the same way you grab the leg for the fireman’s carry.
Now that you’re holding the leg while your other hand secures the choke. Brace your core and attempt to stand up while keeping your grips. The choke should be tight enough to force the tap once you do this. Your opponent might also go out as you stand up, so always be on the lookout.
Final Thoughts
Every grappler should have a submission that they can execute in various positions. The loop choke is a versatile submission worthy of a spot in anyone’s arsenal. If you are training in the gi, it is recommended that you at least explore the loop choke to see what it can offer. Utilizing the gi as a tool to submit opponents is always a great strategy to improve one’s BJJ.
You may also like:
